Executing a flawless event inside a state-of-the-art hotel kitchen is one thing. Transporting, preparing, and serving a premium multi-course menu in the middle of a remote field, an open-air vineyard, or a windy coastal beach is an entirely different culinary challenge.
In mobile catering, logistics dictate your menu. Without a permanent back-of-house infrastructure, your success relies on a bulletproof combination of structural planning, temperature-resilient food choices, and rugged commercial equipment.
This two-part logistical survival guide breaks down exactly how to structure your off-site menus and provides an absolute checklist for executing remote outdoor events seamlessly.
Part 1: How to Plan a Flawless Off-Site Catering Menu
When catering away from your base kitchen, your menu shouldn’t feature dishes that require complex, split-second assembly. The secret to a successful off-site menu lies in selecting ingredients that actually improve while resting or maintain structural integrity through transport, storage, and service.
1. Choose Dishes That Travel Well
Avoid delicate, air-whipped emulsions, fragile micro-green garnishes, or proteins that dry out the moment they sit. Instead, focus on robust, moisture-rich culinary choices:
- Slow-Braised Proteins: Dishes like beef short ribs, lamb shanks, or pulled pork are perfect for mobile catering. Because they are cooked low-and-slow in rich sauces, they retain moisture perfectly and become more flavourful while resting in transit.
- Resilient Starches: Swapping standard mashed potatoes (which can become gluey or form a skin) for rustic roasted root vegetables, layered potato gratin bakes, or seasoned couscous and wild rice blends ensures your sides stay visually appealing and texturally sound.
- Sturdy Greens: Traditional loose-leaf salads wilt under dressing within 20 minutes. Opt for hearty base options like kale, shaved brussels sprouts, quinoa grain bowls, or robust cold pasta salads that can handle being dressed in advance without losing their crunch.
2. Leverage Insulated Transport Boxes
The window between loading your delivery van and serving the first guest is your highest risk zone. To maintain the strict safety parameters of your cold and hot chains, invest heavily in high-grade insulated food pan carriers (such as Cambro or similar thermo-insulated boxes).
- Pre-Heat and Pre-Chill: Treat your transport containers like flasks. Before packing hot foods, prime the boxes with hot water pans for 15 minutes. For cold items, drop ice packs inside beforehand.
- The Steam Factor: Hot foods naturally release steam inside sealed boxes. To prevent crispy items (like roasted potatoes or crackling) from turning soggy, vent your pans slightly or choose menu items that thrive in a high-moisture holding environment.
3. Design for Minimal On-Site Plating
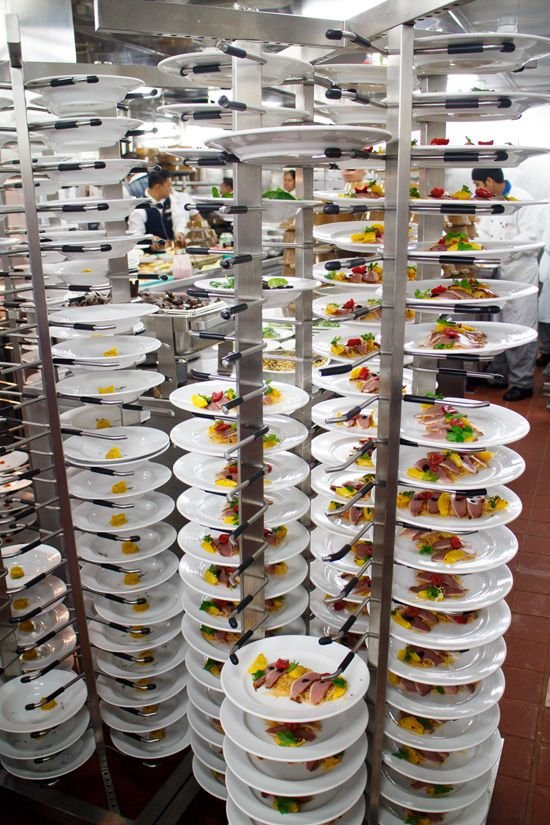
Your off-site execution area may be nothing more than a few stainless steel tables tucked under a stretch tent. Keep your on-site plating actions down to a simple “Heat, Slice, and Garnish” workflow.
- Component Assembly: Standardise dishes that can be entirely pre-chopped, pre-sauced, and vacuum-sealed at your main kitchen base.
- Buffetware Support: Utilise your single or double compartment roll-top chafing dishes efficiently. Because they rely on a gentle water-pan steam system, they will keep your prepped bulk foods at safe, mouth-watering temperatures above 60°C without overcooking or burning the bottom of the pans while guests serve themselves.
Part 2: The Ultimate Checklist for Remote Outdoor Events
Catering in a wild, remote setting means you must bring your own utilities, shelter, and climate control. Use this step-by-step checklist to ensure your mobile setup doesn’t suffer an operational blackout.
📦 Phase 1: Power & Kitchen Logistics
Never guess your electrical load; calculating your total power draw prevents tripped breakers mid-service.
- Sum Your Wattages: Make a list of every electrical item on your line. A standard commercial ice maker might pull a light 280W (0.28 kW), but your automated food processing tools, holding cabinets, or electric induction plates can pull thousands of watts.
- Calculate Generator Sizing: If your total running load is 4,000 watts, you need a generator rated for at least 6,000 watts to comfortably handle the temporary power spikes that occur when appliance compressors (like fridges and ice makers) cycle on.
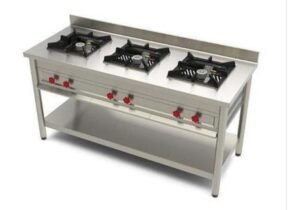
- Prioritize Gas Workhorses: For high-volume cooking in remote areas, rely on commercial gas stoves and deep fryers. Gas gives you instant heat control and slashes your generator dependency, leaving your electrical outlets free for critical refrigeration, lighting, and sound systems.
🎪 Phase 2: Shelter & Structural Integrity
Your tent is your temporary kitchen and dining hall. It must be secured correctly based on the specific ground conditions of your venue.
- Analyse the Ground Terrain:
- On Grass or Soil: Use heavy-duty, industrial steel pegs driven deep into the ground to anchor your stretch tent against heavy crosswinds.
- On Sand or Beaches: Standard pegs slip out of loose sand easily. You must use specialized wide-profile sand stakes or bury heavy “deadman” anchors (like sandbags or timber plates) deep beneath the surface to secure the guy ropes.
- Zone Your Footprint: Position your 6x10m or larger stretch tent strategically. Keep the back-of-house kitchen tent close enough to the main dining pavilion for rapid service, but position it downwind so cooking smoke and generator noise don’t disrupt your guests.
- Plan for Weather Drops: If bad weather or high winds are predicted, choose a versatile 3-ply stretch tent that allows you to peg the windward sides all the way down to the ground, shielding your food line and seating areas completely.
❄️ Phase 3: Hydration & Ice Management
On a hot summer afternoon, running out of ice or serving lukewarm drinks can ruin an otherwise perfect event.
- Calculate the Ice Ratio: Plan for roughly 1.5 kg of ice per guest for a standard afternoon/evening event. This accounts for blending craft cocktails, cooling soft drinks, and packing raw ingredients into mobile seafood bars or cooler boxes.
- Run Production in Advance: A retail countertop ice maker only produces about 15 kg (33 lbs) of ice a day, which won’t cut it for large crowds. Use a high-output 100 lbs or 120 lbs commercial ice maker at your central prep base days before the event, packing the readymade cubes into heavy-duty deep freezers so you can load your transport vehicles with a massive upfront supply.
- Secure Dedicated Cooling Bins: Keep your service ice completely separate from your storage ice. Never use the ice meant for guest drinks to cool down warm wine bottles or raw meat trays.
Summary Checklist for Mobile Caterers
Before your delivery vehicles roll out of the garage, ensure your team can check off these vital operational essentials:
- Dual-fuel setups verified (full LPG gas cylinders + backup generator fuel).
- Step-down voltage converters packed if running imported American appliances.
- All food transport carriers locked at safe holding temperatures.
- Ground-appropriate tent anchoring kit checked and counted.
- Clean water supply tanks filled for cooking and handwashing stations.
- Level, heavy-duty resin chairs and stackable banquet furniture loaded.
By aligning your menu choices with your physical equipment capabilities and planning rigorously for field or beach conditions, your mobile catering operation will deliver a seamless, professional experience that matches the precision of any permanent restaurant.